Nighthawk Router Login | Routerlogin.net | Nighthawk Login
Unless otherwise stated, this website is not related or associated with any third-party brand. brands, trademarks, logos, and company names are merely used as examples.
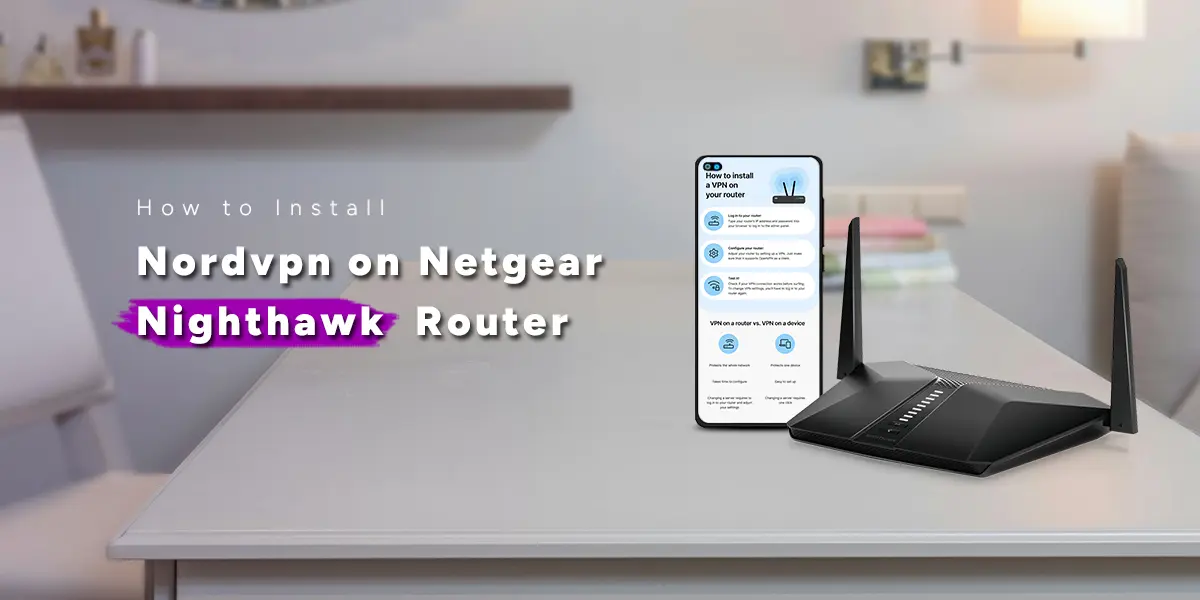
How to Install Nordvpn on Netgear Nighthawk Router
Why set up Nordvpn on Netgear Nighthawk?
There are various benefits of installing NordVPN on your Netgear Nighthawk router. Encrypt all network traffic safeguards connected devices such as gaming consoles, smart TVs, and Internet of Things devices. As a result, installing and configuring the VPN on each device separately is no longer necessary, streamlining the procedure and securing your whole home network.
Verify Compatibility with Routers
The NordVPN is compatible with your Netgear Nighthawk router before the installation process should begin. Check whether the VPN installation on your router model is supported by visiting the NordVPN website or contacting their help. The majority of contemporary Nighthawk routers allow users to install third-party VPNs.
Sign up for NordVPN
Purchase a NordVPN subscription if you haven’t already. Select a package that meets your requirements and adhere to NordVPN’s account setup guidelines.
Compile the Information You Need
You will require particular information sent by NordVPN to configure the Netgear Nighthawk NordVPN router. Open your NordVPN account, log in, and select the dashboard. Seek out the passwords and server addresses required for router configuration.
Open the Router's Settings
Switch on the device connected to your Nighthawk router, and open a web browser. Put the URL address. Enter the router’s credentials to log in.
Open the VPN Settings Page
If in doubt, consult the user manual. Choose a setting like “VPN,” “Advanced Settings,” or “WAN Setup.”
Select the OpenVPN Protocol
Netgear routers generally support OpenVPN. In the VPN settings, select OpenVPN as the preferred protocol.
Set Up NordVPN Preferences
Fill in the relevant areas with the NordVPN server locations and login information. You may get this data from the dashboard of your NordVPN account. You should also adjust additional settings according to your preferences or as suggested by NordVPN.
Update the Router and Reboot It
Once the VPN settings are adjusted, save the modifications and restart your Netgear Nighthawk router. It will guarantee the changed configurations are applied.
Confirm the Connection
Check the VPN status in the router settings after the router has restarted. Make sure there is a successful connection to NordVPN. Examine the settings and refer to NordVPN’s help materials for any problems.
Nordvpn Router Setup
- Verify that your Netgear Nighthawk router supports NordVPN.
- On the NordVPN website, select a plan and register.
- Look for VPN under “Advanced” or “Advanced Setup” in the router settings.
- Launch the VPN client and input the NordVPN server information.
- Put your password and username into NordVPN.
- Make adjustments, save the configurations, and restart the router.
- Check the VPN status in the router settings to ensure that a successful connection is there.
Final Thoughts
You’ve improved the security and privacy of your whole home network by installing NordVPN on your Netgear Nighthawk router by following these instructions. Whether gaming, streaming media, or just surfing the internet, take comfort in knowing that all your devices are secure from potential dangers and prying eyes. Remember that firmware updates or configuration changes for NordVPN may necessitate routine inspections and modifications; be informed to ensure maximum security.